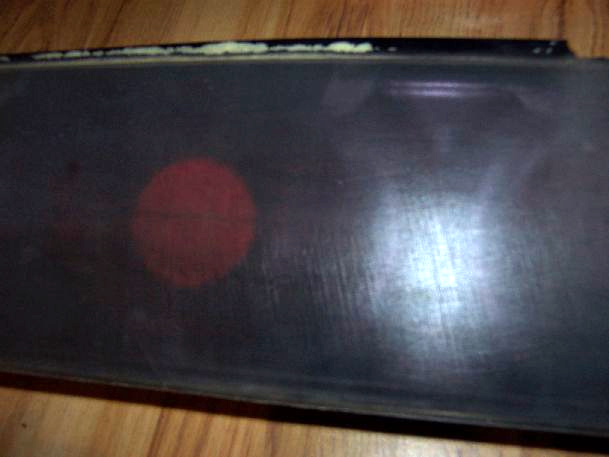
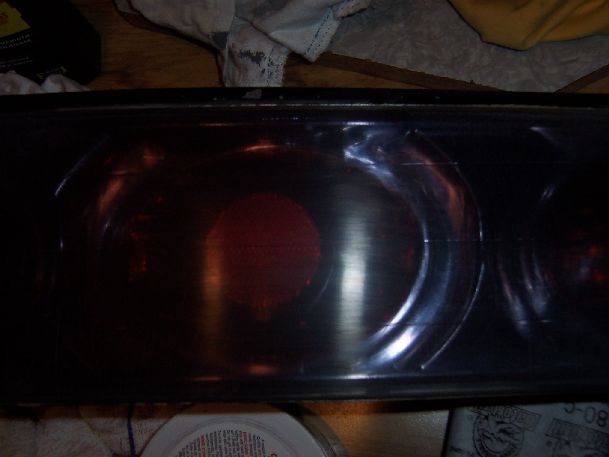
You will notice the many what looks like vertical (but on a a diagonal) lines all over the clearcoat – and you can barely see the red reflector coming through – even with a flash used to take the picture.
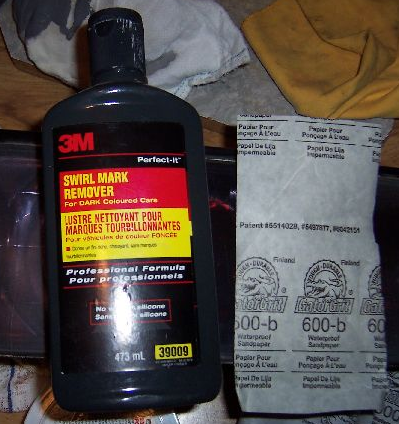
I knew I had to get the sanded and polish to restore its original painted finish. Lets take a look at the products I will use:
3M 39009 Perfect-It Swirl Mark Remover (along with leftover 600 grit sandpaper I had)
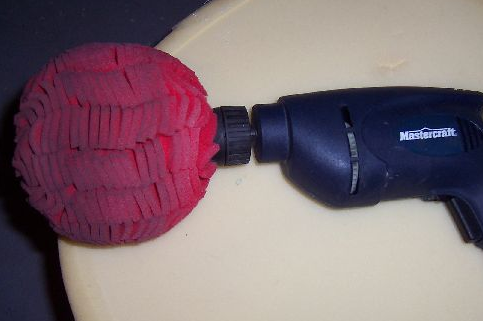
MOTHERS PowerBall Polishing Tool (on my corded Mastercraft drill from Canadian Tire to get maximum rpm power)
At this point we need to sand out the main imperfections out (including spider cracking of the clear coat, remove the general haze / dullness in the clear coat). We do this by wet sanding the clear coat (look back for further tutorials on wet sanding – but you essentially keep the sandpaper wet as you sand to get best results). Remember! if you sand to far you may remove all the clear coat. Keep checking to make sure you don’t completely remove the clear coat.
Let’s see the aftershot of the same tailight with just the wet sanding done to it:
It’s better, but obviously very dull still and you can see the fine sanding marks here (normally you will want to keep wet sanding with something higher than 600.. especially on actual car paint you will likely never go below 1500-2000 grit – but for my taillights I wasn’t so concerned as I can respray them if need be, and they were in pretty rough shape).
Now lets smear some (well in this case I did a lot) of the swirl remover. It’s really way more than needed but I’ll do less next time.

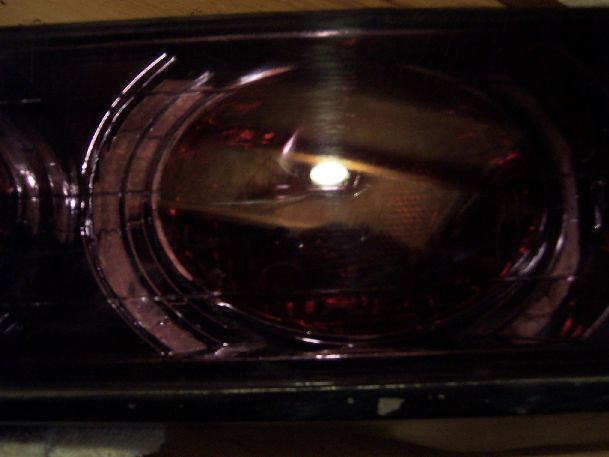
Once you have the Swirl Remover on the headlight, simply run the powerball over the entire area doing multiple passes. You want it to get good coverage over the area without building excessive heat in one spot. After you have run the powerball, you will then want to wipe off the area with a clean rag. After all is done you should end up with a fairly clear area that is ready to be polished further or have wax added. Let’s take a look of a up close shot of the tail light (you can still see some sanding marks lightly here – mainly because I did 600 grit and did not go higher to 1500 and 2000 grit sandpaper – but for my taillights this was all I really wanted to do):
And now a before and after shot of the clear coat (well more of a difference shot of the tail light that has been fixed and the one that still looks like a dark scratchy clear surface that is very dull):
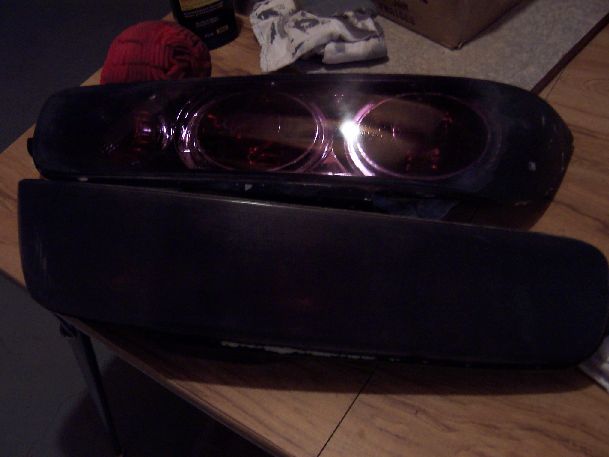
Pretty amazing how the bottom one almost looks opaque and hte top one actually lets you see all the reflectors and silver chrome areas from underneath.
Hope you enjoyed the way back of me polishing my taillights.. leave some comments if you have any questions!