
Today’s post will show you how to prep a DIY paint job for a lip kit on your car. In this case we are showing how to Wet Sand the OEM Integra Type R Front Lip and OEM Optional Rear Kit to be ready to be painted. The only material you need is sandpaper of various grits and a lot of time to get it done right.
So after work and between the days of rain, I started the Wet sanding process. After getting outside (don’t want to do this inside), I got my sandpaper, lip kit pieces and a bucket for the water, which you will see in the following picture.
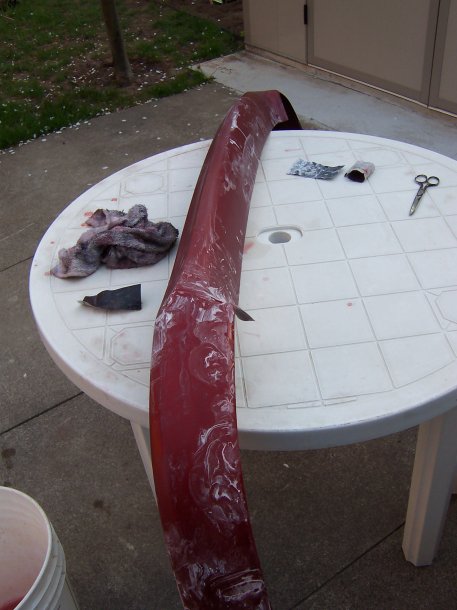
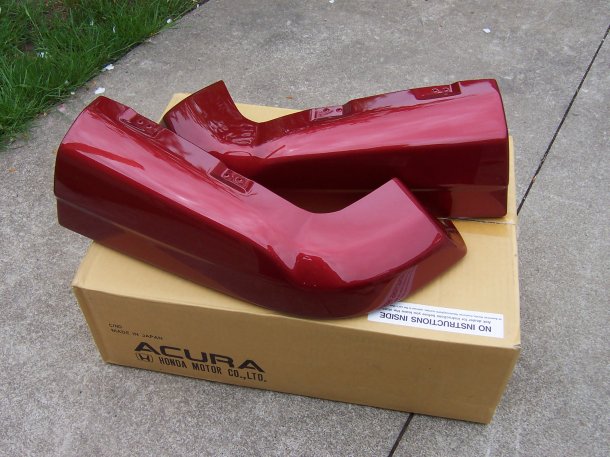
The OEM Acura Integra Type R Front Lip (in stock Burning Red Pearl) prior to sanding:
Here are my choices of sandpaper to attack the lip kit with while wetsanding: 320 grit and 400 grit wet / dry sandpaper (you need to make sure it says Waterproof sandpaper).

And now the fresh stock painted red, up close and personal to show you the clear we want to remove and rough up for painting the new color:
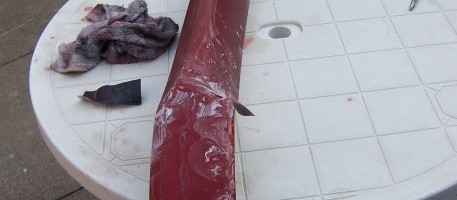
While we don’t have any pictures from the actual wet sanding (we did the entire front lip in one sitting) – here you will see a picture of the Front Lip all sanded with white residue from the wet sanding (it is white because of wet sanding the clear coat, making it turn white). You will want to remove all this residue after and in our case we used the rag pictured to the left of the kit. Nothing special needed here – just remove the major white stuff and prior to priming you will use a tack cloth to remove all remnants from sanding.
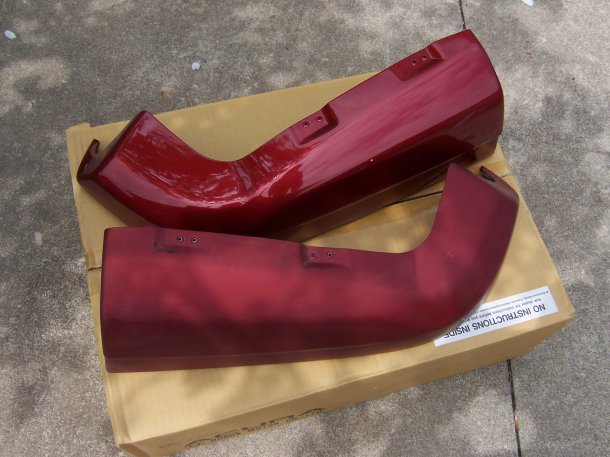
Now on to the OEM Integra Optional Rear kit. Let’s first see the rear valences in the stock red paint (almost sad to repaint them but my car’s green and can’t rock the christmas colors – need to match):
In this picture, I have completed sanding the one rear valence, while the other one is still in stock paint – mine is the dull one but smooth and ready for priming:
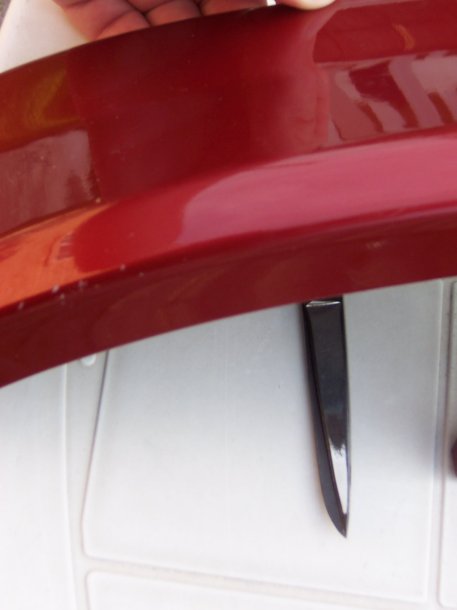
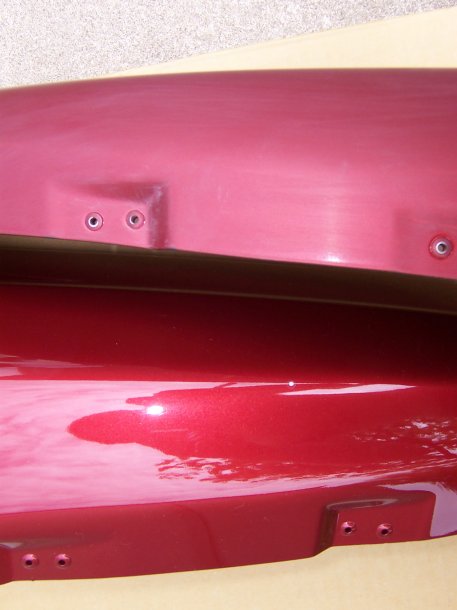
Let’s macro in on the camera and take a close up shot of one piece sanded and the other one not (you can see some sanding marks which you could go up to 600 to give a smooth as butter finish – but I prime the pieces and use 600 on the primer to get that paint ready finish – so wasn’t necessary for me here):
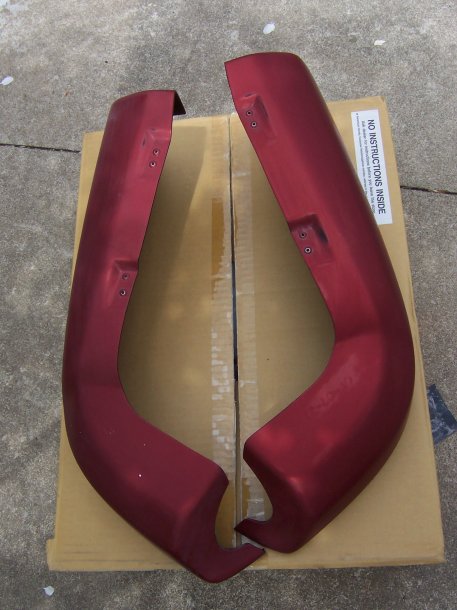
Quick money shot of both valences sanded and ready for primer:
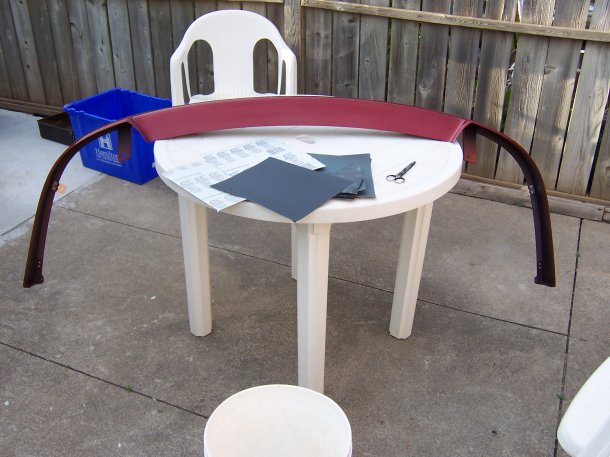
We also bought the OEM integra optional side skirts and those will be wet sanded as well. The next step is to do the priming which I will also DIY using Duplicolor Sandable Black Primer. Depending on what the final color of paint will be – you can choose from different primer colors of Black, Gray, Red, White, and Black Hot Rod. Start prepping for paint and primer!